Sunday, November 13, 2011

Christmas Attire


I changed my mind so many times with the type of shirt I was going to make the littlest Mr for Christmas events this year.

But it suddenly all came together in my mind yesterday and created today.
(Sorry about all of the pictures, he was such a poser and I HAD to show off all these great photos of him looking very proud of his new outfit!)

Only two more shirts to make for the other boys (they have chosen and told me what they would like on theirs.. so stay watching)

Thursday, November 10, 2011

Handmade Gift Bags

Not only does it avoid wrapping paper waste, but they are pretty cute... and reusable!
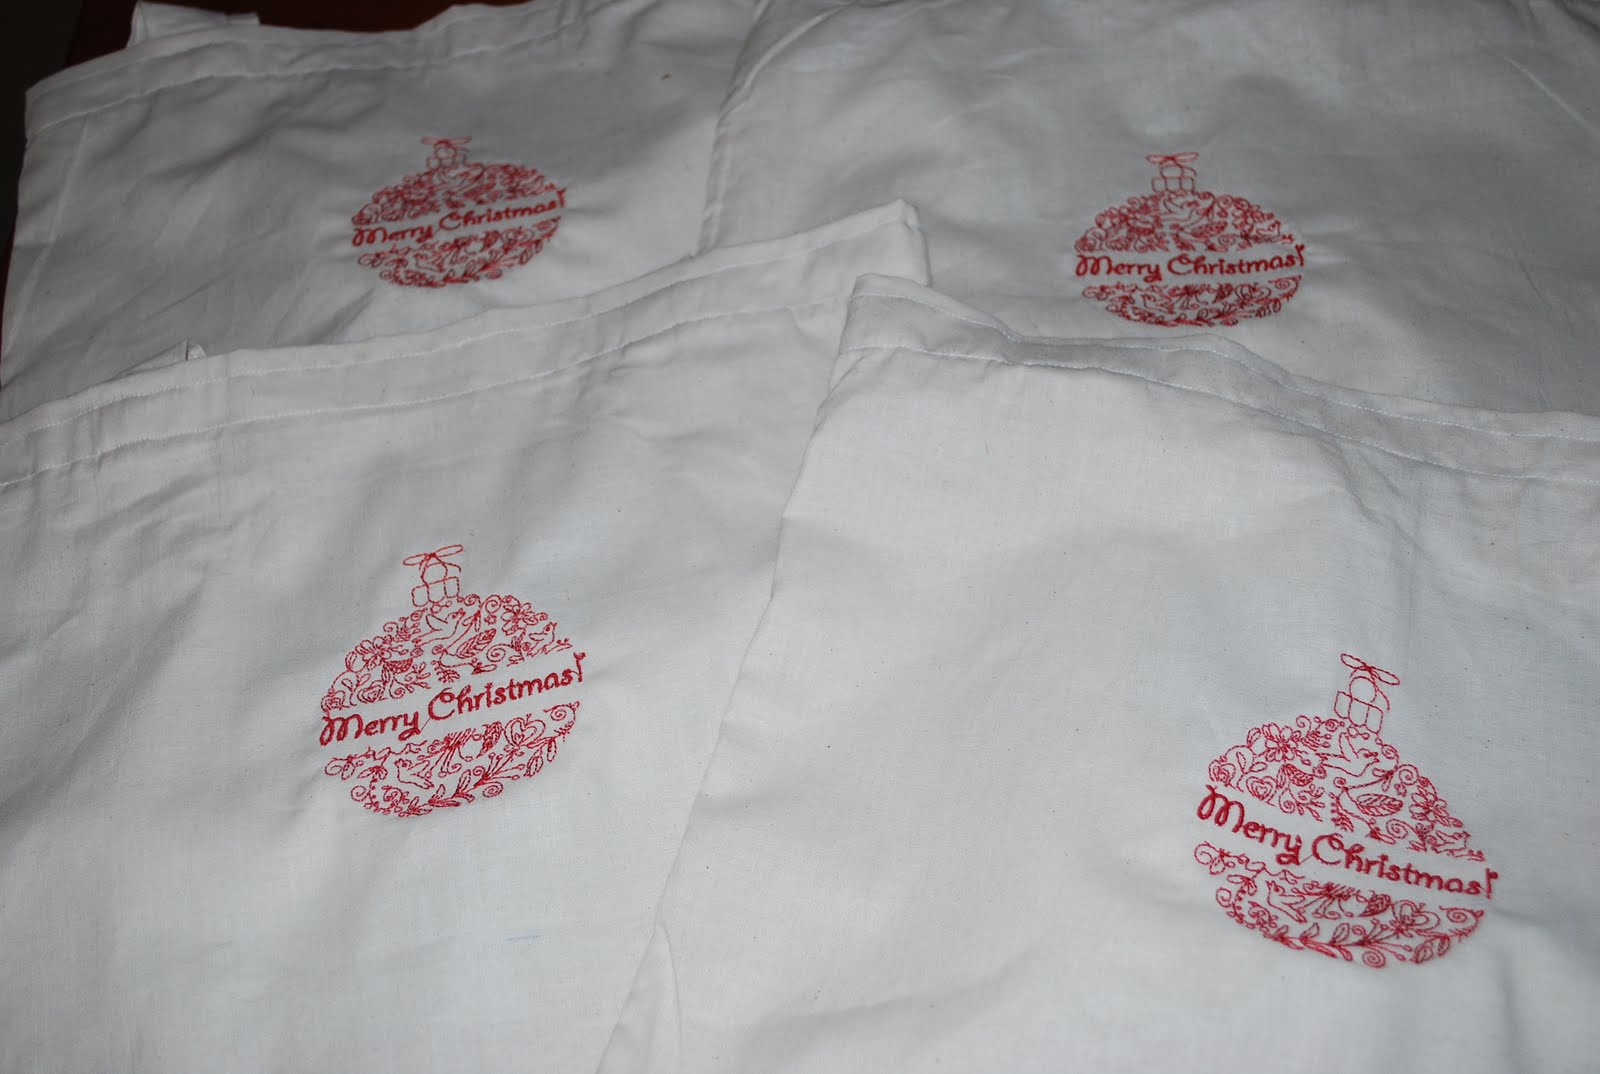
I just made a simple calico bag (next time I might use ribbon or twill strips for the straps to save time and allow me to make more, or even buy some premade calico bags) and embroider the simple Christmas greeting to the front.

I hope they will be repurposed in future gift giving or as a carry bag during the Christmas time.


DS Cover/Case


Shhh... My older two boys are getting DS's for Christmas.
And as you may know they are expensive, especially with all the accessories and games etc.

So I got creative, not only did I manage to get 2 pre-owned DS from a games shop at a fraction of the price, and they still come with a 12 month warranty on them.
Plus a bunch of pre-owned games from forums and classifieds.

But I decided to make them covers each for storage rather than buying them.
Plus I don’t think store bough ones have this much storage.
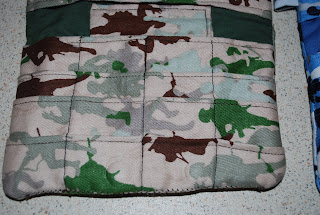
These have storage for 12 games, the stylus, the DS, and games instruction (and I added another pocket because I had a bit of extra fabric because I managed to cut one pattern piece twice for both cases)

This is the tutorial I used.

And if they fill up the 12 game slots, I have intensions of making something like this.

Patchwork Diary Covers


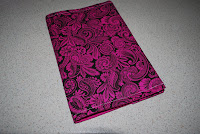
Using the exact same method as I explain in my Fabric Covered Book Tutorial (except instead of drawing the measurements on to my interfacing, I did it on some paper beforehand because all 5 books were going to be the same size) I made some patch work diary covers for Christmas gifts for the kid's teachers.


Work out the fabrics you’d like to use for the front.

Using a couple of different sizes of paper (I just used a notepad I have, similar to post it notes, 1 was the full size, the other was folded in half one way, and the other folded the other) I then cut out a few of each fabric in the different sizes.

With my paper pattern as a size template I arrange the fabric pieces to fit in the best without too many of the same fabric touching completely. (Remember your fabric pieces are going to NEED to hang over the edge of this pattern, because when you sew each piece together you are going to lose a bit of its size)

Once you have created you "Main fabric" you continue all the steps exactly the same as the other tutorial!

Tuesday, November 8, 2011

It's Beginning to Look Like Christmas.


Years and years ago, back when we had only one child, I found these HUGE Christmas stockings, like novelty size (but actually practical to fill with toys).

I loved them so much I bought 2; we had talked of having a second, so I knew this wasn’t too ridiculous.

Little did I know we would end up with 3 children and the store since close, so I couldn’t find the same size stocking again.

The first year we had our youngest, I got away with buying a MINI stocking (novelty size to the other extreme) because he was the baby and it suited.

But last year, it just wasn’t working, and still no luck finding a large one for him, AND to top it off the other boys were starting to fall apart inside where it had this weird foam lining.

So I promised myself I would make new stockings for ALL of us this year.

I had intentions to make jumbo ones for the kids, and regular size for mummy and daddy, but changed my mind.

By the way, I used this pattern, just added the fold over cuff and didn’t worry about lining
The red tree fabric is from Spotlight, the green with white spots is from my own stash.

Saturday, October 29, 2011

Marble Mazes TUTORIAL


Marble mazes are a fantastic QUIET activity for the children, plus involves fine motor skills for their little fingers and hands to push the marble around.


HOW TO:

1) To make the pattern size I used, I simply folded and A4 piece of paper in half and cut two piece of fabric to this size.

2) Leaving approx. 5cm turning gap on one of the short sides, sew around using the .5cm seam guide.

3) turn in the right way, making sure you push the corners out with something such as a pen, paint brush or scissor tip if you are very careful.

4)2 maze patterns can be found here.
My advice is to print this out, and keep as a master copy.
Then for each marble maze you make, simply trace over the lines with tracing paper or baking paper.
You can then pin this to your fabric with the marks on the top near your turning gap, sew straight over the top of the maze lines, and rip the paper off once you are done.

Much easier than remeasuring and ruling on each marble maze if you are making a few. And making sure your drawn on lines wash off.


5) REMEMBER TO PUT THE MARBLE INSIDE, push it around the maze a little so it is in the centre and out of the way, now top stitch all the way around.

And you're DONE!
It's that SIMPLE!


Drawstring Bags are the BEST!

Not only are drawstring bags very simple to make, but also one of the best storage solutions for all sorts of things!

Faced recently with a dilemma on how to store these 3 puzzle sets that were very similar to each other, and didn’t quite fit in their own boxes if you had just ONE piece jumbled up, which meant juggle pieces between the 3 boxes... WAY too time consuming, and kids wouldn’t even bother trying to fix if the lid didn’t slid on.


So I whipped up a drawstring bag!


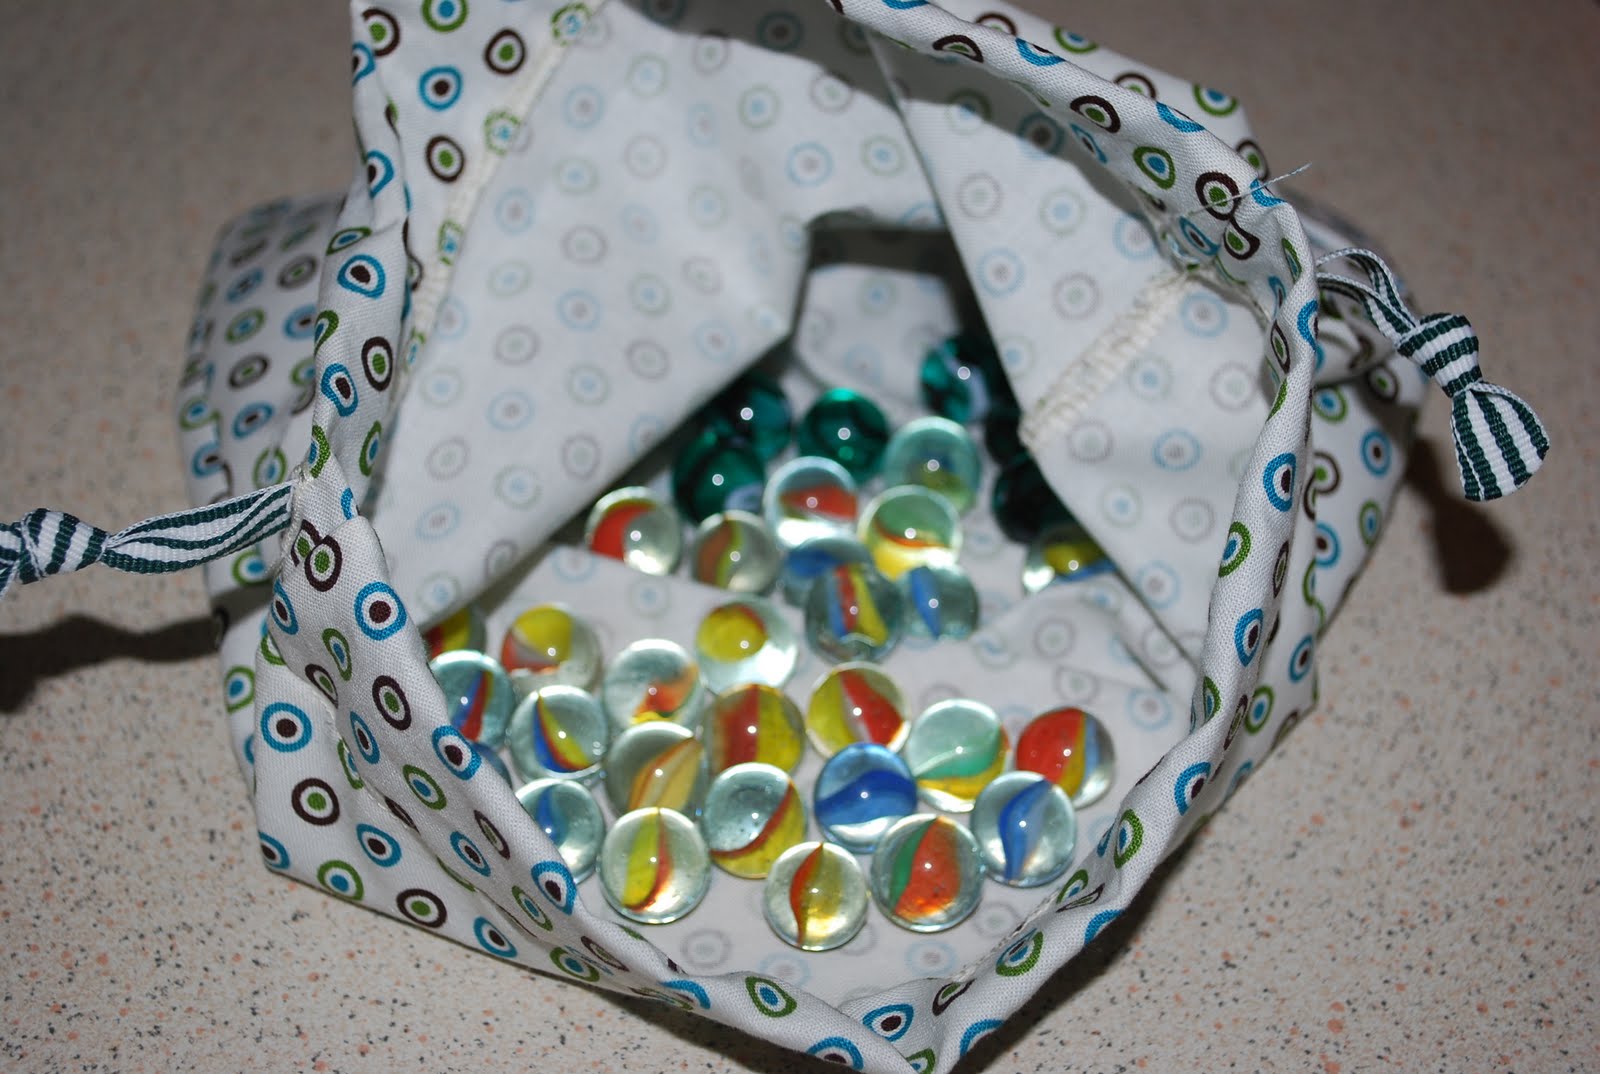
For years we have stored the Ka-Plunk marbles in a fruit mesh bag, and I mean YEARS as its the same set my brother and I use to have as kids. It was starting to kind of stick together where it was knotted, making it hard to open (and the kids couldn’t master a knot as it was, let along slightly stubborn one)

So I whipped up a drawstring bag!

Wonder what else I can bag up...?


Monday, October 24, 2011

Welcome to MY space.

I thought I would show you where I create and spend a lot of my time sewing.
I love my sewing nook, and I say nook, because the rest of the room in my youngest son's room (though his toddler bed is in our room at the moment, but that’s another story)

Just a little bit of warning, I am a neat FREAK!
So it is organised to the max.(I promise this is how it always looks, and not just tidied up for the photo), this is how it HAS to be when I walk away from it, and am done for the day.

It does get a little messy while working, but I really can’t work in mess, so even that isn’t real different than what you see here.

Here is what the book case consists of:
My patterns are in the green basket on the top shelf, any I have traced are in a folder on the bottom shelf.
How fantastic is this organiser caddy! I cant even remember which facebook page I bought it from, hopefully it will come back to me soon!
And my inspiration board and pocket frame help keep everything I need above me. (Though I think I need some more photos and jazz it up a little more)
And when I am using the overlocker, I tend to pull this little table out and away from the desk.

Friday, October 21, 2011

Fabric Covered Book TUTORIAL

Unfortunately, I don’t have a ready to use pattern for this, because ALL books are different, you have the spiral version or bound books. As well as the spine being different thickness, day to a page or week to a page diary views. And then not to mention if you start going for A4 or pocket size books!

But I do promise this method works for all kinds of books, easy to follow, and will allow you to whip up beautiful fabric covered books in no time!!!!


HOW TO:

1) Firstly, work out which fabrics you would like to use for the outer and the inner.
If you are making A5 size like I am, you will need 50x30cm of both of these, as well as a medium to heavy interfacing/stabiliser. You will need slightly bigger if you are planning an A4 sized cover.
(You can get also get fancy and create a patch work or panel piece for the front to add more flare)
2) Lay fabrics right side together, and the interfacing on top (or if you are using iron on interfacing, iron this to the back of the fabric you want as the outer), and pin it in a few places to secure the layers together.
3) If you have a good eye for positioning your book centre of your fabric, then go for it.
Otherwise, fold your fabric in half-length ways, and press. I have drawn a line on my interfacing so you can see the line we are looking for.
4) Open the book and position the spin along this line, and draw around the outside of the book. (Use a washable marker or pencil in case it will be visible through your fabrics, however I used biro so you can see, and I have dark fabrics)
5) We now need to add seam allowances.
On the top and the bottom (or long sides) measure and mark 2cm from your original line.
And on the short side you will need to add half the size of your book's cover PLUS another 1cm on either side.
6) Leaving an opening of approx. 5cm for turning, on ONE of the short sides, sew around with a 1cm seam guide.
Snip your corners as close to the stitching as you can.
7) Turn the right way and top stitch both SHORT sides only. (I also add my tag on at this step)
8) Fold your fabric in half-length ways again, this time slip your book in so that the spine sits in the fold.
9) Lift up the front cover, and tuck the top flap inside.
10) Repeat with the back cover.

11) I now feel where the bottom edge of the book is, and pin through all layers, including the flap.
12) Taking the book back out, I sew all the way across where I have pined.
If all previous measuring, marking and sewing as been straight, this SHOULD be 1cm seam guide again.
And you're DONE!!!
It's that SIMPLE!

I also tied, and secured in place with a few stitch in a couple of places, a ribbon bow around to jazz the book up a little and also secure it closed when needed.