Showing posts with label Organising. Show all posts

Monday, March 3, 2014

Jewellery Pouch


After spending a couple of days untangling my fine chain necklaces, I thought I should find a better way to store them.
A multi-pocket jewellery pouch was the perfect answer, and will also be the answer to all my jewellery storage when I get the time to make some more pouches.

You will need:
1/2 yard for large pocket
FQ for small pocket
small amount of stuffing
ribbon or cord


HOW TO
1) My super complicated way of making a perfect circle- a dinner plate.
you will need to cut two at this size.

2) and two at a different/smaller plate or bowl size. (this would look great if the smaller circles were a different fabric but due to cutting my small ones first, and being too small this is how mine ended up.)

3) fold one of the large circles in half so you can find the centre line.

4) measure in from the edges 1.5 inches and stitch 2 button holes.
5) right sides together, pin and sew around the edges, leaving a turning cap in each.


6) top stitch around both to close the turning gap.


7) on the larger one, you will need to sew two more top stitch lines, to create a casing for the drawstring.
Using different points on your foot, or measurement plate you will be able to keep this consistent around the whole circle.

8) fold both circles into quarters so you can find the centre point. line these up and pin the smaller circle into the middle of the large circle (make sure the button holes on the large circle are on the opposite side as the little circle)

9) grab your next sized fancy tool to make a smaller sized circle again, in the middle of your little one, trace around it with a washable fabric pen.

10) stitch most of the way around this line, leaving a little opening to insert a small amount of stuffing, then continue sewing around.
this only needs to be a small amount of stuffing, not firmly stuffed.


11) I do apologies that I did not take a photo of this next step, but I drew 6 different lines at even points around the circle holding the stuffing.
I stitched from this line to the edge of the little circle. creating 6 small pocket.


12) insert ribbon or cord around the casing, using 1 button hole as entry and exit both times.


And you’re DONE!
It's that SIMPLE!


Monday, January 27, 2014

Simple Personalised Stationary

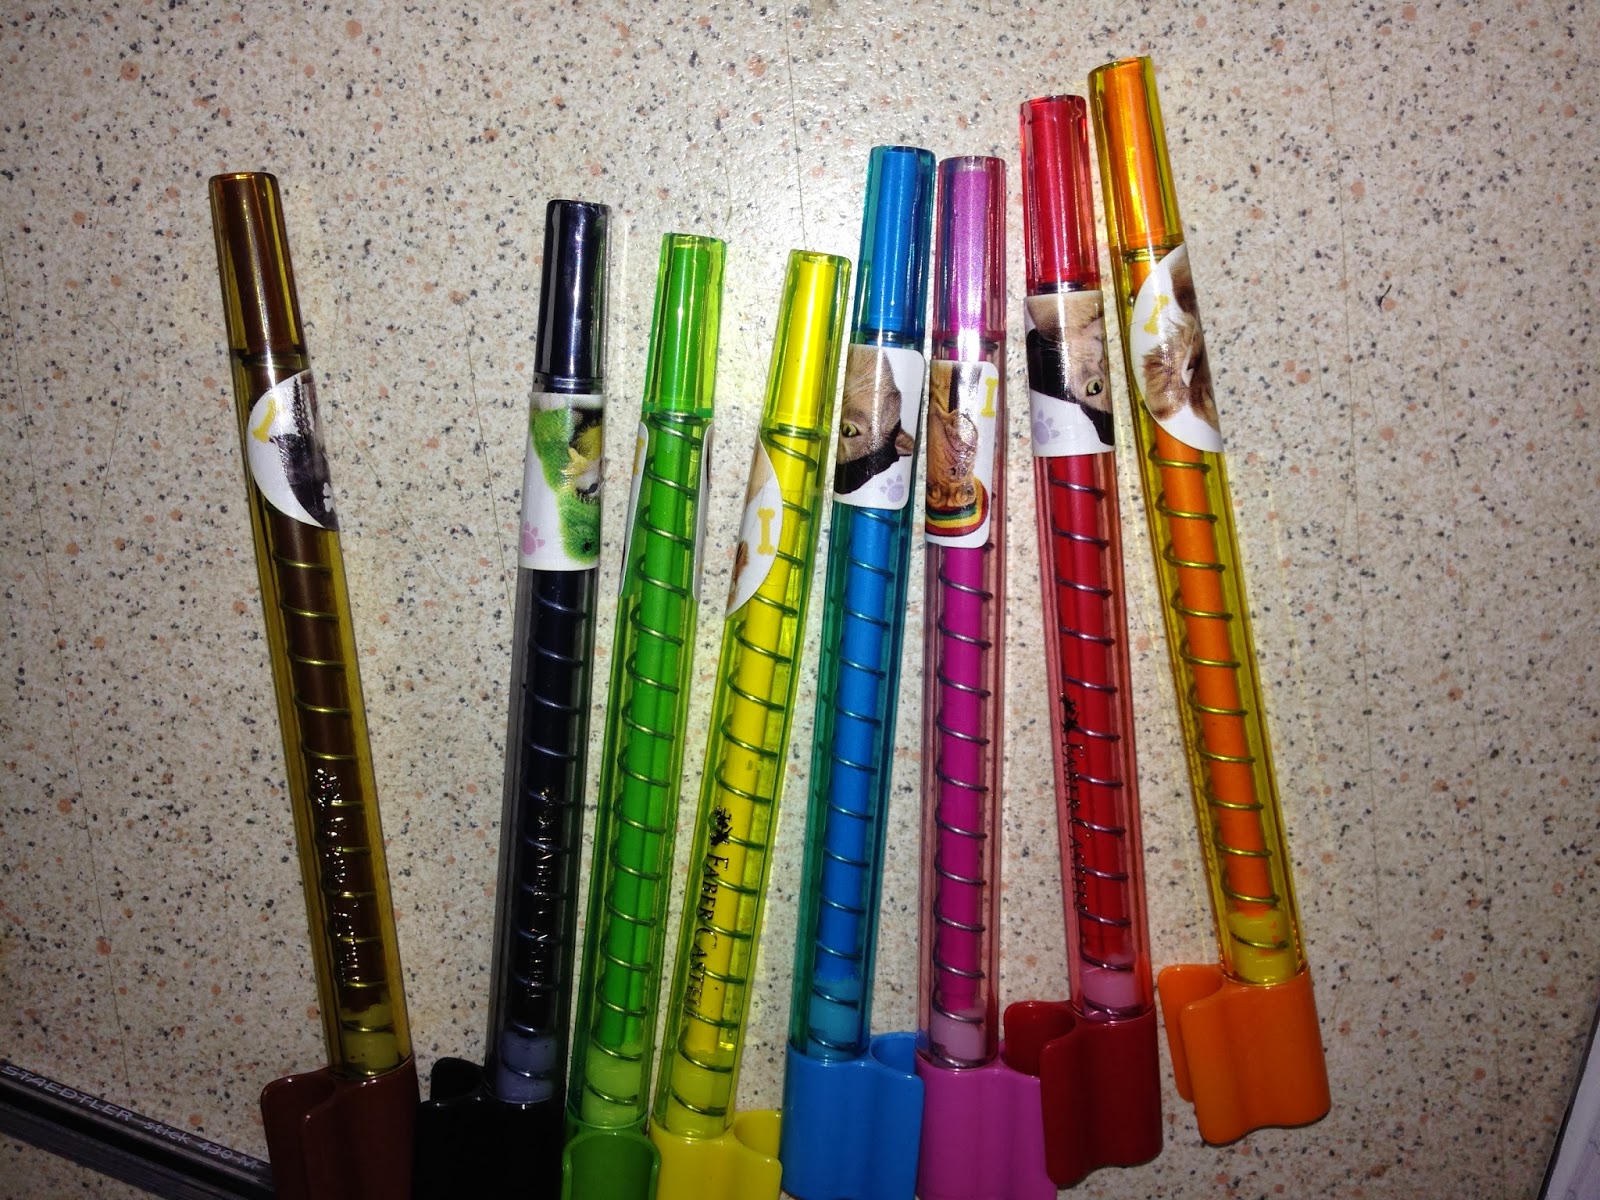
If you are anything like our household, with our 3 boys, you will have 3 of everything.


This can get a little confusing with textas and crayons when they are all drawing at once and they are scattered all over the floor.
And when one child is a bit younger and a culprit of "dotting his textas" of course the other two children don't want their colours to end up wrecked.


So I simply use some of the million stickers we have in the house, sticking with one theme for each child
And a piece of sticky tape wrapped around each to provide a bit more protection and "stick".
Makes cleaning up heaps easier and each child knows exactly which colours are theirs.


Saturday, August 17, 2013

Stationary Storage Tutorial

This tutorial does not require a stitch of sewing, but does recycle and organise. Two of my other favourite things to do :)

You will need:
Empty cereal box or box of similar size
Contact paper

HOW TO
1) work out how deep you would like your storage compartment, this will depend on where it will be stored, our draws were only 5cm deep, so I am making our compartments 4cm tall.
Mark this measurement all the way around and slice with a Stanley knife and ruler.

 
2) Using a strip of contact, slightly bigger then the box, and long enough to wrap the whole way around including an overlap.

 
3) Snip a "V" out of the corner.

 
4) fold the extra underneath the box, and also on the inside of the box.


 And you're DONE!
It's that SIMPLE!


Tuesday, July 9, 2013

Stamp Wallet Tutorial

 
If your anything like me, this is how your postage stamps look (OK, yes that's still fairly neat, normally they are just thrown into the stationary box or wallet, aren't they?)
Very easy to get lost, thrown out with receipts or forgotten about.

You will need
main piece: 8" x 4"  outer fabric,  inner fabric and  interfacing
Large pocket: 8" x 3"  outer fabric
Little pocket: 8" x 1.5" inner fabric

HOW TO
1) Fold large pocket piece in half so the folded edge is to the left and raw edge up the top, sew along where pins are shown.
 
2) Turn right way and top stitch.
3) Repeat with small pocket piece.
4) Pin both pocket piece together as shown.
5) Measure 4" from the right of your inner piece, with pocket pieces right side facing down on the left side, sew them in place down the middle line.
 
6) Flip pockets over so they sit on the right side and sew the main piece and interfacing on with right sides together, leaving a gap for turning right way out.
7) Add snaps or Velcro for closure.

And you're DONE!
It's that SIMPLE!


Thursday, December 13, 2012

Reusable Produce Bag Tutorial

We all try to be Eco friendly, and not use plastic bags, plus most of the stores don't even stock them... except when it comes to the fresh produce section!

And our fruit and veggies usually only sit in these bags for an hour while we finish the rest of the grocery shopping and bring it home to unpack straight into the fridge or fruit bowl.
So I'm going to show you a very simple way to make some reusable produce bags, that I look forward to using during my new grocery shopping trip!

You will need:
garment washing bag from cheap store (I bought the largest possible size they had, so I could get two produce bags from each washing bag)
cord or string
toggles

HOW TO

1) cut off the top of the bag, just below the zip.


2) Cut bag in half if you have one that is big enough to turn it into two bags.

3) Turn each half inside out and stitch up the newly cut side.
remember to back stitch a few times near the top opening as this will as much strength as it can
Don't forget to back stitch the top of the already stitched side as the thread would have been cut and leave it weak.

4) weave cord or string through the bag, towards the top and secure in place with a toggle (this step is not required as the plastic produce bags don't close)

Please ignore how empty my produce bags actually are, its end of the week and due for another stock up.

And you're DONE!
It's that SIMPLE!


Thursday, November 29, 2012

Car Pouch Tutorial

And who hasnt put their hand in their hand bag and pulled out a toy car instead of their ringing mobile?

With this cute little pouch, your child will be able to keep 3 of their favourite cars nice and safely together.
Ready to play with while out and about- waiting for the doctor, on the cafe table, or in the middle of the groccery aisle!


You Will Need:

Outer fabric 17x 24cm
Inner fabric 17x24cm
pocket piece 17x16cm

HOW TO:

1) Fold pocket piece in half to create a rectange 17x8cm, and top stitch along the folded edge.

2) Position on the bottom of the inner layer

3) On the bottom-back of your inner piece, find the middle and mark 1inch either side of it.
This is where you will sew a straight line to create the individual car pockets.
Be sure to go back and forth a couple of times at the top of the pocket to make sure it will hold up against cars going in and out all the time.
4)I will be using a hair elastic and button for the pouches closure, same concept as the Fold-up Shopping Bag.
Snaps can also be put on towards the end, in the two corners if you prefer.
 
5)  Placing fabrics right side together, it is time to pin together and sew around the outside, leaving a turning gap at the top (shown where my fingers are, not sure why my photo is turned at the moment)

6) Snip the corners and turn in the right way. Top stitching the turning hole and all the way around the outside.

7) Positiong the button in place.

And you're DONE!
It's that SIMPLE!


Wednesday, November 28, 2012

Electronic Fabric Stash

If you haven't already been able to tell, I like to be organised.
It helps me to know where things are, and easily able to see what I have.

And this doesn't stop when it comes to my fabric stash.

I have it folded around corflute (a plastic type cardboard available from most hard ware stores, and also used in signs for realestate and bottle shops) and grouped in boxes according to type and size.
I also place them in to the box standing up right, so that when you take off the lid and peer in, you can see the edge of each fabric and don't have to pull out your wanted piece from the bottom of the stacked pile- because you can guarantee that's where the one you want will always be!

This box is my cotton prints:

This one contains my flannelet, drill and denim: (plus a few misc like stretch and satin that i don't have much of, as i don't like working with it as often)

and these two boxes contain my fat quarters and "scrap" pieces: (I don't keep really scrappy pieces, it has to be decent enough to use on my every day sewing)

As well as my very easy to see-into-boxes, I have also taken photographs of each piece of fabric separately (generally as I buy them so i can stay up to date) and store them on my computer in folder called "Fabric Stash" Again I list them according to type and size. (Yet to write exact measurements, but believe me, I have considered it!)

This way I can sit at my computer and browse what I have and what might work for a project before I need to start unstacking boxes and finding the fabric.

I also get great satisfaction at seeing a piece of fabric "crossed off my list" when I have used up a  piece completely, I simply delete the photo from my records.


How do you store and sort your fabrics?


Friday, November 23, 2012

Easy Fold-up Shopping Bag Tutorial

This is possibly the easiest way to make a fold up shopping bag, that you wont be able to live without 1 (or 3 like myself) in your handbag and car.

You will need:
Either a simple rectangle/square shaped bag you have made, or a premade bag to make it even easier.
1 hair elastic
1 button

HOW TO

1) Find the middle of the back, and sew a hair elastic in place with a few straight stitches back and forth.

2) Turn the bag to face front up
3) Fold the bag, first with handles on top of the bag

4) Fold one 3rd of the bags side in on itself
5) and repeat with the other side

6) Then start rolling from the bottom and find where the elastic will stretch to.
7) Mark with your sewing needle, but dont start sewing the button on until you unfold it, to ensure you one sew through one layer of the bag.

8) Fold back up and secure with elastic around the button.

And you’re DONE!
It's that SIMPLE!