Showing posts with label Bags. Show all posts

Monday, March 3, 2014

Jewellery Pouch


After spending a couple of days untangling my fine chain necklaces, I thought I should find a better way to store them.
A multi-pocket jewellery pouch was the perfect answer, and will also be the answer to all my jewellery storage when I get the time to make some more pouches.

You will need:
1/2 yard for large pocket
FQ for small pocket
small amount of stuffing
ribbon or cord


HOW TO
1) My super complicated way of making a perfect circle- a dinner plate.
you will need to cut two at this size.

2) and two at a different/smaller plate or bowl size. (this would look great if the smaller circles were a different fabric but due to cutting my small ones first, and being too small this is how mine ended up.)

3) fold one of the large circles in half so you can find the centre line.

4) measure in from the edges 1.5 inches and stitch 2 button holes.
5) right sides together, pin and sew around the edges, leaving a turning cap in each.


6) top stitch around both to close the turning gap.


7) on the larger one, you will need to sew two more top stitch lines, to create a casing for the drawstring.
Using different points on your foot, or measurement plate you will be able to keep this consistent around the whole circle.

8) fold both circles into quarters so you can find the centre point. line these up and pin the smaller circle into the middle of the large circle (make sure the button holes on the large circle are on the opposite side as the little circle)

9) grab your next sized fancy tool to make a smaller sized circle again, in the middle of your little one, trace around it with a washable fabric pen.

10) stitch most of the way around this line, leaving a little opening to insert a small amount of stuffing, then continue sewing around.
this only needs to be a small amount of stuffing, not firmly stuffed.


11) I do apologies that I did not take a photo of this next step, but I drew 6 different lines at even points around the circle holding the stuffing.
I stitched from this line to the edge of the little circle. creating 6 small pocket.


12) insert ribbon or cord around the casing, using 1 button hole as entry and exit both times.


And you’re DONE!
It's that SIMPLE!


Friday, February 8, 2013

Fishing Rod Bag Tutorial

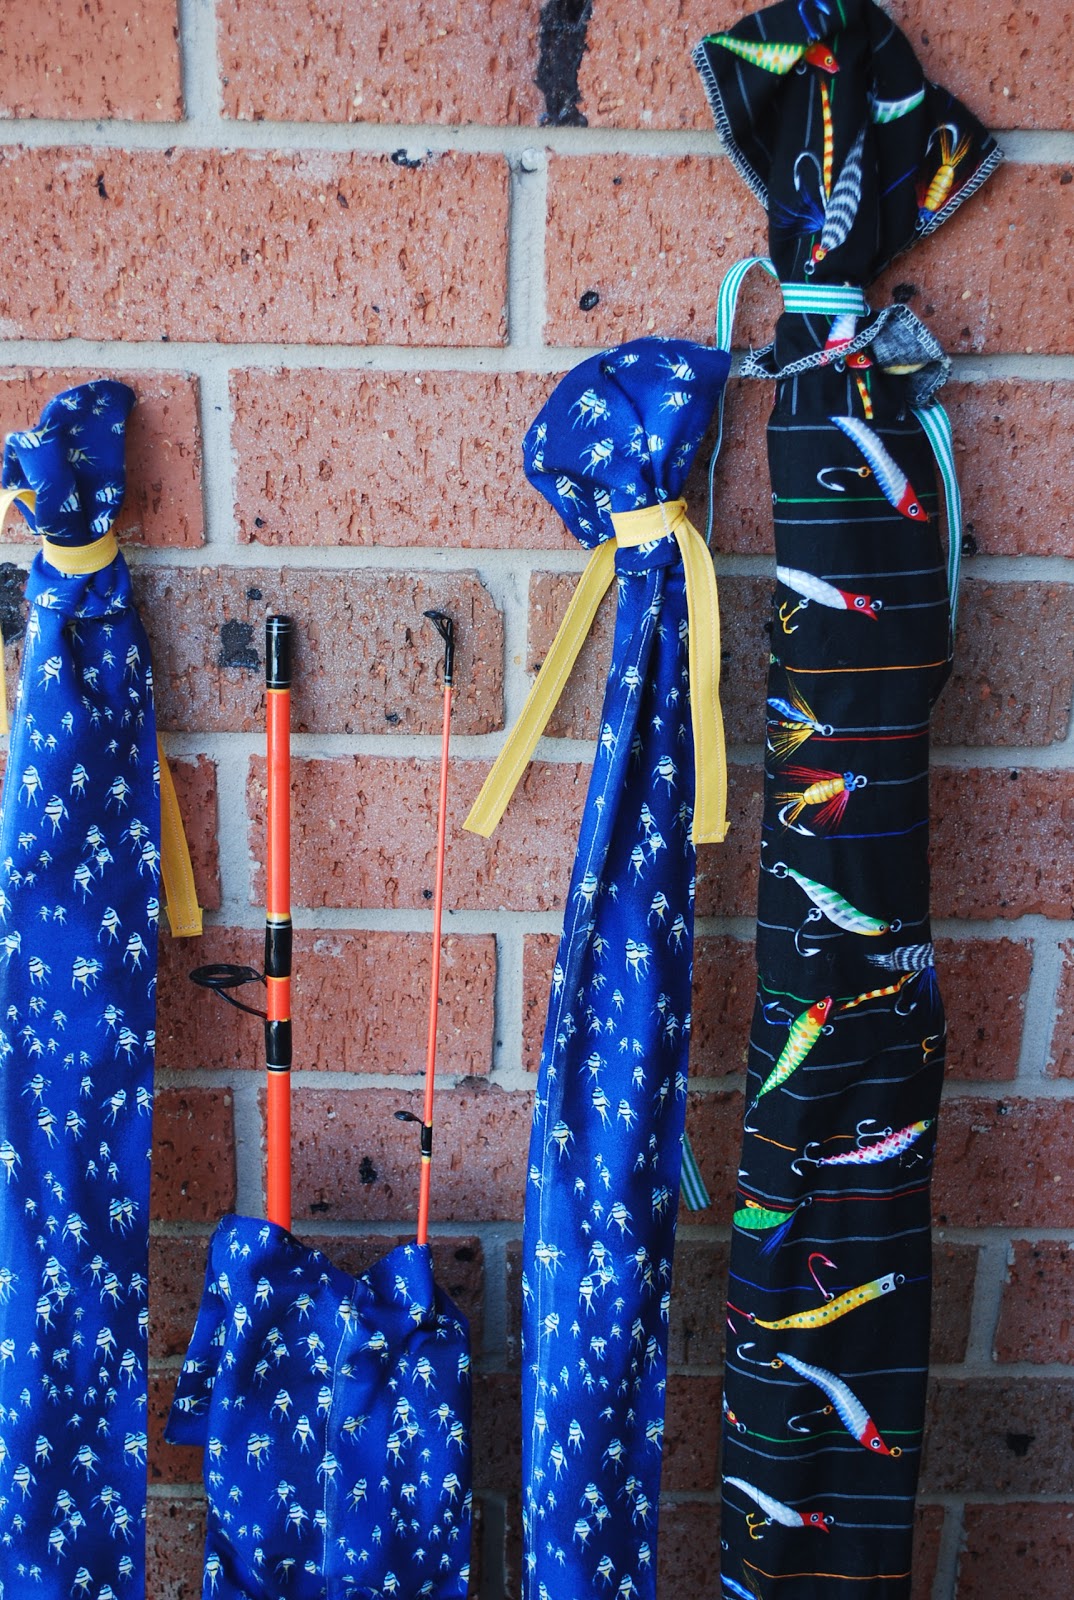
Hubby has kind of been asking me to make him some fishing rod bags for about 2 years now! and while I was finally getting my butt into gear, I thought I'd create a tutorial at the same time :)

You will need

a) cut 1 piece 30cm x 123cm (or WOF if making children sized bag as I am)
b) cut 1 piece 15cm x 30cm
1 piece of ribbon, cord or bias 40cm


HOW TO
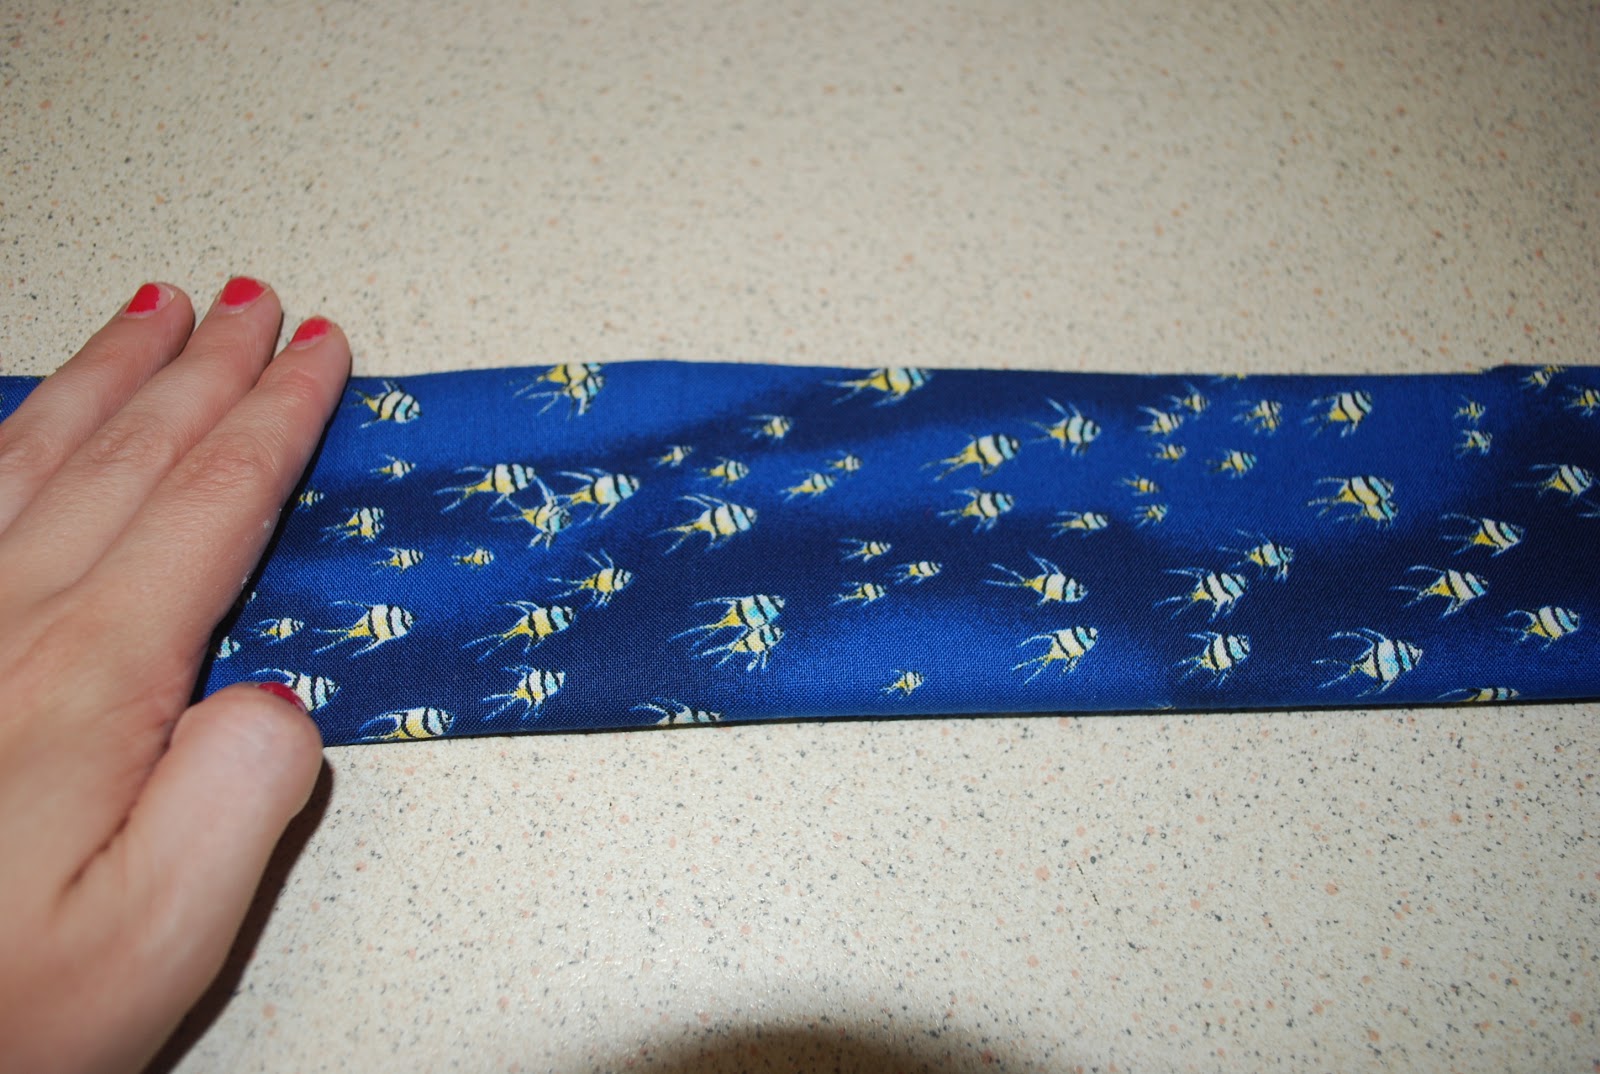
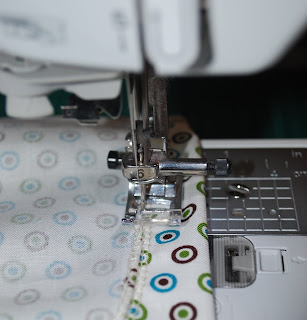
1) Fold piece "a" in half long ways, and sew up one short side and long side.

I left the salvage mine, because I am making children sized, and saves me hemming the top edge.

2) Turn in right way

3) Fold piece "b" in half long ways, sewing down two long ways.

4) Turn right way, and attach at top of bag


5) Find the middle of the length, mark and straight stitch full length.
I pressed mine and drew lightly with chalk, or you could pin.
be sure to back stitch a few times near the opening as it will have regular use of fishing rod going in and out.


6) Secure ribbon, cord or bias in the centre of the top of the flap.


And you're DONE!
It's that SIMPLE!


Thursday, December 13, 2012

Reusable Produce Bag Tutorial

We all try to be Eco friendly, and not use plastic bags, plus most of the stores don't even stock them... except when it comes to the fresh produce section!

And our fruit and veggies usually only sit in these bags for an hour while we finish the rest of the grocery shopping and bring it home to unpack straight into the fridge or fruit bowl.
So I'm going to show you a very simple way to make some reusable produce bags, that I look forward to using during my new grocery shopping trip!

You will need:
garment washing bag from cheap store (I bought the largest possible size they had, so I could get two produce bags from each washing bag)
cord or string
toggles

HOW TO

1) cut off the top of the bag, just below the zip.


2) Cut bag in half if you have one that is big enough to turn it into two bags.

3) Turn each half inside out and stitch up the newly cut side.
remember to back stitch a few times near the top opening as this will as much strength as it can
Don't forget to back stitch the top of the already stitched side as the thread would have been cut and leave it weak.

4) weave cord or string through the bag, towards the top and secure in place with a toggle (this step is not required as the plastic produce bags don't close)

Please ignore how empty my produce bags actually are, its end of the week and due for another stock up.

And you're DONE!
It's that SIMPLE!


Thursday, November 29, 2012

Car Pouch Tutorial

And who hasnt put their hand in their hand bag and pulled out a toy car instead of their ringing mobile?

With this cute little pouch, your child will be able to keep 3 of their favourite cars nice and safely together.
Ready to play with while out and about- waiting for the doctor, on the cafe table, or in the middle of the groccery aisle!


You Will Need:

Outer fabric 17x 24cm
Inner fabric 17x24cm
pocket piece 17x16cm

HOW TO:

1) Fold pocket piece in half to create a rectange 17x8cm, and top stitch along the folded edge.

2) Position on the bottom of the inner layer

3) On the bottom-back of your inner piece, find the middle and mark 1inch either side of it.
This is where you will sew a straight line to create the individual car pockets.
Be sure to go back and forth a couple of times at the top of the pocket to make sure it will hold up against cars going in and out all the time.
4)I will be using a hair elastic and button for the pouches closure, same concept as the Fold-up Shopping Bag.
Snaps can also be put on towards the end, in the two corners if you prefer.
 
5)  Placing fabrics right side together, it is time to pin together and sew around the outside, leaving a turning gap at the top (shown where my fingers are, not sure why my photo is turned at the moment)

6) Snip the corners and turn in the right way. Top stitching the turning hole and all the way around the outside.

7) Positiong the button in place.

And you're DONE!
It's that SIMPLE!


Saturday, November 17, 2012

Mini Purse Tutorial

This mini purse is great for loyalty cards, business cards, carry a bit of change, women's products, phone case (maybe add a layer of batting for this) and many more ideas for this cute purse!

You will need:printable pattern piece
1 layer outer fabric
1 layer inner fabric
1 layer of interfacing (or batting if you are making a phone case)
hair elastic and button or snaps

HOW TO

1) layer fabrics right side together, with interfacing/wadding on wrong side of the outer fabric and pin together.
i will be using a hair elastic for closure on this wallet, so place that between the inner and outer fabric, half way along the curved side.

2) Start sewing from the short flat side, all the way around finishing on the shirt side, leaving a turning gap approx the size I am showing between my fingers.

3) Snip corners and turn right way.

4) Top stitch the short straight side, so the turning gap is closed up.

5) Pin the short side up 3.5" towards the curved edge.
6) Start sewing from the folded edge, up the straight, around the curve, and down the other straight side stopping at the fold on the other side

7) Add your button closer, or snaps.
Button and button hole would work, so would Velcro.


And you’re DONE!
It's that SIMPLE!


Wednesday, September 12, 2012

Wrist Wallet Tutorial

There has been a few occasions when my boys have had a few things they had to pay for at school on the same day, between lunch orders, donations and excursions to pay for, it’s very hard for them to keep track of everything and very easy for money to get lost and slip out of their pocket without noticing.

So this wrist wallet was the solution, however the tutorial I followed the first 6 times (yes 6 boo-boos!) wasn’t working for me.
Here is my new and Sew Very Simple version!


You Will Need:
Front top peice: 2"x 8.5"
Front bottom piece: 2.5"x 8.5"
Back piece: 3"x 8.5"
Inner piece: 3"x 8.5"
2x 4" lengths of 1" bias binding either matching or contrast like my example.
5" zip or use the folowing steps to shorten any length zip.

HOW TO

1) Measure the length of the zip you need from the zipper pull in closed position and pin to mark


2) Fold Bias Binding in half and place folded edge either end of the zip.
Sew a straight line on the edge of bias binding, remember to move the zipper pull out of the way when you are working on the side.


3) Snip off the extra length of zip from underneath the sewn on bias binding.


4) Fold the long edge of the top and bottom front pieces 1cm and then again 1cm. so the raw edge is tucked inside the fold.


5) Place folded edge either side of the zip and top stitch into place all the way to the edge including the bias binding.
You may need to wiggle the zipper pull out of the way as you get close to it in each direction.


6)  This part might get a little confusing as we pin all 3 layers together.
Place the inner layer down first, with top facing upwards
Next is the layer with the zip, also facing upwards
last layer is the back, place this facing towards the zip layer.

Pin and sew, leaving approx. 3cm gap at the bottom to turn in the right way.

After you have sewing don't forget to snip your corners to make a nicer turned corner.

 
7) Turn the right way and top stitch all the way around the edge and close up the gap.
 
It's a little hard to see on this colour wallet, but I have sewn a line straight down 3cm from both edges. It doesn't mater so much on my particular ones because of the snaps, but if you have used Velcro it will stop money hiding in the far corners.
And, well, it looks a little nicer with a few more top stitch details.


And you’re DONE!
It's that SIMPLE!

Thursday, May 17, 2012

Wallet/Clutch


I knew this fabric would look great as a wallet or clutch, as I think it is very stylish and also easy to match with any outfit.

So when I was told this wallet from Very Purple Person fits an iPhone in it, I thought it would be a great wallet-clutch, and since making it I know I will be making many more in different fabrics for myself and as adult gifts (watch out friends and family).

ETA: Here is another I have made for myself... just wait until Christmas and you will see just how much I love the pattern/tutorial... many more will be made!
!


Printing on Fabric


Why haven’t I done this sooner....??? My eldest two boys have just started collect these Trash Packs and While my eldest has the collector case, he also wants to take the characters to school to "battle" with his friends (or whatever you actually do with this toy) and the case is a little too big in his bag and too "showy" for my liking to take to school. So I told him I would make a little draw string bag (and of course one for my second eldest) And then I suddenly remembered I wanted to try printing on fabric, and would be perfect to print the logo to have on the bag.


HOW TO:

1)I ironed some visoflex on to my white fabric, and leaving the paper side of the visoflex still on the fabric I masking taped all 4 sides of my fabric to an A4 pieces of paper.

2) Doing a printing test on to another piece of paper to make sure it would line up on my piece of fabric (as my fabric wasn’t a full A4 size)

3) I then sent my fabric paper through the printer.
And you’re DONE!

It's that SIMPLE!


The logo is a little smudgy from the printer ink, but luckily the style of the Trash Packs can have a dirty look to it.


Saturday, February 18, 2012

Drawstring Bag Tutorial


HOW TO:

1) Work out the size you would like your bag to be- if you have something in particular in mind to go in the bag, use this as a guide and then make your measurements larger then this item.

If you will be making multiple bags the same size, it might be wise to make a pattern out of some paper- easier to measure and mark on paper then fabric.

Cut two pieces of fabric- no rule whether your bag has to be rectangle or square, this is up to you.
(Or you can cut one if you place the bag base on a fold.)

2) With fabric right sides together, pin and sew/overlock 3 sides together. (In my case, my bottom seam is actually the fold of my fabric so no need to sew)

3) I overlock the edge of my opening at this stage, if you don't have an overlocker you can do a zigzag stitch right on the edge of your fabric, or during the hemming you can folded it over twice.

4) With a button hole foot, choose the size of the hole you will need, based on the size of ribbon/cord you will be using to close the bag.
I normally use two ribbons/cords to close the bag as you can tie it more secure after drawing it closed, which will mean you need two button holes. One works well also.
Using the top of the button hole window as a guide to make sure I get both holes the same distance down from the top, I place the right edge of the foot against the left of the side seam on both side.
5) Using a quick unpick, carefully break the fabric fibres between the button hole stitching.

6) Fold the top hem down and sew all the way around- make sure where you are about to sew is below the button holes, if not, make your hem a little wider.
7) Turn bag in right way and feed ribbon/cord through button hole and back out the same button hole, tie off and repeat with other button hole.

And you're DONE!
It's that SIMPLE!