Thursday, October 18, 2012

Kids Week: Day 5

Opps a little late in posting this...but here is what I created for my eldest son on the last day of the challenge.

I have no been requested by my eldest 2 to make all of the colour ninjas EACH!
thats 5 each (minus this one)

At least that means it is liked I suppose....
 
A big thank you to Crazy Little Projects, for the printable template.


Thursday, October 11, 2012

Kids Clothing Week: Day 4

My youngest needed some new shirts for summer, so instead of buying printed tee's, and possibly costing more $$.

I bought a few blank and striped shirts for $3 and $4 each with the intention of embroidery and appliquing on them.

Only trouble is.... working out which of the millions of ideas and designs I actually want to put on these 3 shirts!


Wednesday, October 10, 2012

Kids Clothing Week: Day 3

Today I am doing a bit of a mass production of clothing.

20 dresses on the go, which will all be on their way to my favourite charity Dress a Girl Australia.

While I wont get these all completed today, I have made a decent start on them, and KCWC was exactly what I needed to motivate me to start.

Looks like day 5 will be continuing with dresses (have some embroidery planned for tomorrow as I'll be out most of the day)


Tuesday, October 9, 2012

Kids Clothing Week: DAY 2

Nothing I like more then making something girly and pretty after sewing for my 3 boys all the time.

So I was very excited about starting today's clothing item... because its DOUBLE!!!

Day 2: Cute matching cross-over pinafores for my friend's soon-to-be-born twin girls!


I love when twins where matching- but different, so I am loving how unique these two dresses turned out.


Monday, October 8, 2012

Kids Clothing Week: DAY 1

Twice a year there is a Kids Clothing Week Challenge, hosted by Elsie Marley, where the challenge is to spend a min. of 1 hour a day sewing kids clothing.

I already had these items on my to-do-list, but I thought, what perfect timing to do it during the challenge week.


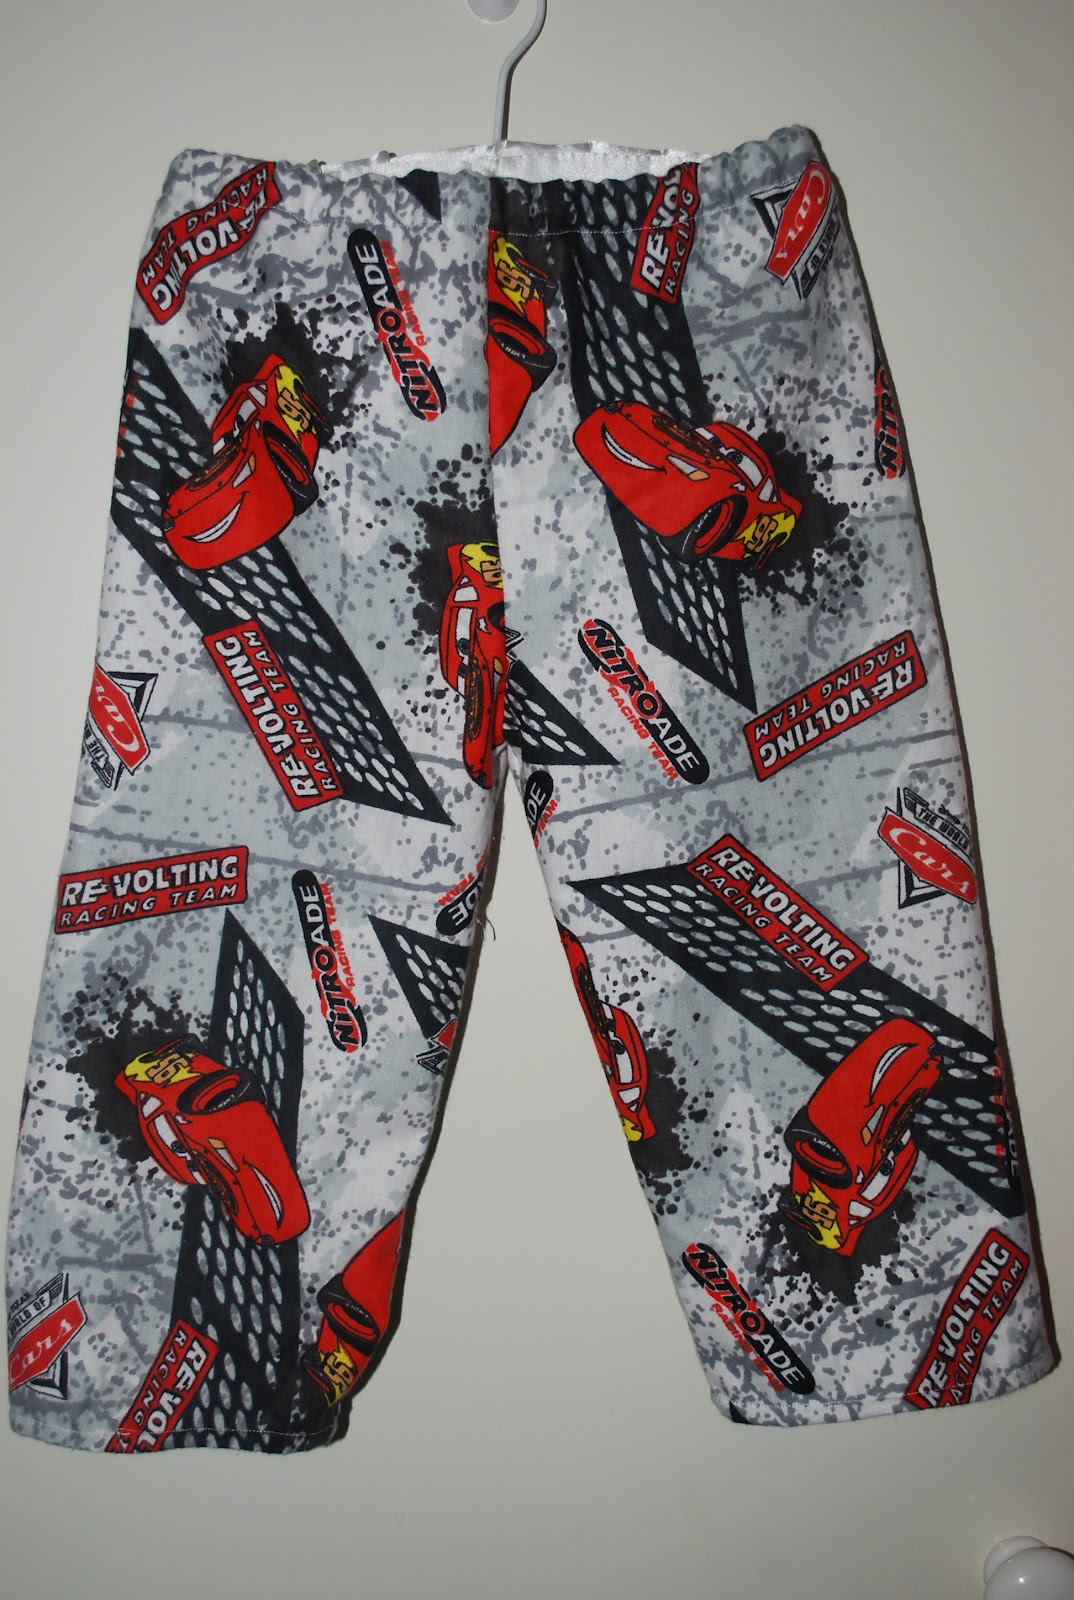
Day1: PJ pants for middle and youngest child (will make matching shirts to go with them)


Sunday, October 7, 2012

Organising My UFOs

I bet your wondering why I have so many space crafts that I need a way to organise them, right?

Well in the sewing/crafting world, UFO stands for Un- Finished Objects.


So being the neat freak I am, unfinished projects can feel messy and overwhelming to me.Here is my simple solution to keep these organised, prevents them getting messed up and also means they are easy to see and I am more likely to grab one and finish it off.


For starters I have a notebook sitting on my sewing desk, right beside me sewing machine with a list of things I want or need to do next.
I will work my way through this list (not in order), things that "need" to be done, will be done in order and take priority over "wants".
As I complete an item, I scrawl it out so i can no longer see it, and its clearly crossed off.

If I have the fabrics in mind for particular projects, or have started to cut something, I will bag it in it own zip lock bag, and stick a little sticker on the front to tell me at a glance what project is in the bag.


and then they are stored in this container. Looks kind of pretty for UFOs don't you think?


How do you organise your unfinished projects?
Do you have an actually "to do list" or is it more like a mental wish list?


Wednesday, October 3, 2012

Seasonal Cushion Covers

I have been admiring these cushion for a while now, and with Christmas fast approaching I thought I better get to work on my Christmas "to make" list.

I made these covers removable so they could 1) fit over existing cushions, 2) not have to try and store a filled cushion during the rest of the year and 3) not have to worry what cushion filling would actually store like.


Cant wait until Christmas time and have these on display! (First I need to finish the other 2 cushions)

This is the tutorial I used, from Sparkle Power!, to make the removable cover.


Wednesday, September 12, 2012

Wrist Wallet Tutorial

There has been a few occasions when my boys have had a few things they had to pay for at school on the same day, between lunch orders, donations and excursions to pay for, it’s very hard for them to keep track of everything and very easy for money to get lost and slip out of their pocket without noticing.

So this wrist wallet was the solution, however the tutorial I followed the first 6 times (yes 6 boo-boos!) wasn’t working for me.
Here is my new and Sew Very Simple version!


You Will Need:
Front top peice: 2"x 8.5"
Front bottom piece: 2.5"x 8.5"
Back piece: 3"x 8.5"
Inner piece: 3"x 8.5"
2x 4" lengths of 1" bias binding either matching or contrast like my example.
5" zip or use the folowing steps to shorten any length zip.

HOW TO

1) Measure the length of the zip you need from the zipper pull in closed position and pin to mark


2) Fold Bias Binding in half and place folded edge either end of the zip.
Sew a straight line on the edge of bias binding, remember to move the zipper pull out of the way when you are working on the side.


3) Snip off the extra length of zip from underneath the sewn on bias binding.


4) Fold the long edge of the top and bottom front pieces 1cm and then again 1cm. so the raw edge is tucked inside the fold.


5) Place folded edge either side of the zip and top stitch into place all the way to the edge including the bias binding.
You may need to wiggle the zipper pull out of the way as you get close to it in each direction.


6)  This part might get a little confusing as we pin all 3 layers together.
Place the inner layer down first, with top facing upwards
Next is the layer with the zip, also facing upwards
last layer is the back, place this facing towards the zip layer.

Pin and sew, leaving approx. 3cm gap at the bottom to turn in the right way.

After you have sewing don't forget to snip your corners to make a nicer turned corner.

 
7) Turn the right way and top stitch all the way around the edge and close up the gap.
 
It's a little hard to see on this colour wallet, but I have sewn a line straight down 3cm from both edges. It doesn't mater so much on my particular ones because of the snaps, but if you have used Velcro it will stop money hiding in the far corners.
And, well, it looks a little nicer with a few more top stitch details.


And you’re DONE!
It's that SIMPLE!


Tuesday, August 21, 2012

Baby Born Clothing Tutorial

Pillowcase Dress
Download printable pattern here


Short Pinafore Dress
Download printable pattern here


Long Pinafore Dress
Download printable pattern part 1 here
and part 2 here

HOW TO:

1) Cut front and back piece on fold.

2) Sew applique shape to front of dress using blanket stitch or zig zag.
As this item is not being washed as often as childrens clothing, it is up to you if you use heat and bond on the back of the shape.


3) Overlock or hem the bottom of the 2 yoke pieces.
4) With right sides together sew the yoke pieces to the dress pieces. From arm hole to arm hole.
Turn in the right way so the yoke will end up on the inside of the dress.


5) Fold band in half length ways and overlock or sew to dress pieces.


6) Fold band down. (hmm must fix this side ways photo)
7) With right sides together, sew or overlock down the sides of the dress

8) Turn right way.
Attach your prefered closure on the straps.
This could be button and button hole, sew on metal snaps, plastic press stud snaps or velcro.


And you're DONE!
It's that SIMPLE!


Tuesday, August 14, 2012

Cardi Refashion

Oppsy, the zipper broke during a cycle in the washing machine.

Not to worry. A cute Crochet lace trim and its now covered the broken zipper and makes a cute open cardi.