Monday, January 27, 2014

Simple Personalised Stationary

If you are anything like our household, with our 3 boys, you will have 3 of everything.


This can get a little confusing with textas and crayons when they are all drawing at once and they are scattered all over the floor.
And when one child is a bit younger and a culprit of "dotting his textas" of course the other two children don't want their colours to end up wrecked.


So I simply use some of the million stickers we have in the house, sticking with one theme for each child
And a piece of sticky tape wrapped around each to provide a bit more protection and "stick".
Makes cleaning up heaps easier and each child knows exactly which colours are theirs.


Thursday, January 23, 2014

More PJ Eaters- With Tutorial Tips

After my first PJ eater, I was hooked. Not only was it a big hit with the birthday boy, but it was also really simple!
Here are a couple more I have made for Birthday presents.

If you remember, I altered the body of the pattern so that I could insert a cushion insert, this allows for easier washing, and also that the insert can be replaced if ever needed.

I did keep the hand and feet pattern the same, but I wanted to offer you some tips on how I sew it together, as I have heard of a couple of people having trouble getting the curved sole to fit in the leg part.
This not only works for these feet but any curve and straight edge combination.


HOW TO:
1) Line up the straight edge on the curved piece, where you would like the seam, then move it over 1cm more.


2) Start sewing from where you originally wanted the seam, as we will need that extra 1cm to actually create the seam.
Make sure the curved piece is the piece you have positioned on top while you are at the machine.


3) slowly sew around the edge, moving just the curved piece as you go, making sure the edges still line up.


4) Sew right up to where you started and finish off.


5) When you now look at the straight piece, it may not line up completely on what will be our seam edge- but just imagine sewing that first and trying to make the curve piece not fit, as it often makes the straight piece too big and requires a lot of pinning, adjusting and frustration.


6) Matching up the side edges so they are straight- but not necessarily meeting, sew from your last finished point straight down the edge.


And you're DONE!
It's that SIMPLE!

Wednesday, December 18, 2013

Wrapped up in Wrap Skirts


I have wanted to try a wrap skirt for some time, so when I had Sewing Green book checked out from the library, I discovered a wrap skirt pattern and tutorial inside... AWESOME! FREE!!!!! my favourite kind of pattern!

Here is my first attempt at following this pattern.

It's a little long for my short frame, and seems to flare out a little too much that low down my legs, i feel like a bell lol.


Accidentally, with a particular fabric in mind that would not allow for this length, or 7 cuts of the pattern piece, this skirt was formed out of my shortened and widened pattern piece (only requires 3 pieces per side rather then 7)

and another was made

and another....


can you tell I am loving all the options and variety
They are so quick and simple to make these skirts!!!


I reckon each skirt only cost me about $10 or so in fabrics! and I get up 2 skirts out of them!

SHOULD be set for summer.... but I may just make another 1 or 2......

Saturday, August 17, 2013

Monster PJ Eater

I LOVE the PJ eater's that are getting around lately, so I decided to make one for a birthday gift.

I used the pattern from Sew Fearless, but made it slightly larger so I could just insert a cushion insert rather the stuffing and risk lumpiness.

And felt it needed a cute little poem to go with it (just in case the new owner didn't quite understand what it was for)

I am a friendly monster,
who loves to sit on your bed,
and every morning as you wake,
I get grumpy if I'm not fed.

I love to eat fabric,
It's my favourite food,
Just one pair of PJ's in my tummy,
It will keep me in a very good mood.


Nothing like making it personalised either.


Stationary Storage Tutorial

This tutorial does not require a stitch of sewing, but does recycle and organise. Two of my other favourite things to do :)

You will need:
Empty cereal box or box of similar size
Contact paper

HOW TO
1) work out how deep you would like your storage compartment, this will depend on where it will be stored, our draws were only 5cm deep, so I am making our compartments 4cm tall.
Mark this measurement all the way around and slice with a Stanley knife and ruler.

 
2) Using a strip of contact, slightly bigger then the box, and long enough to wrap the whole way around including an overlap.

 
3) Snip a "V" out of the corner.

 
4) fold the extra underneath the box, and also on the inside of the box.


 And you're DONE!
It's that SIMPLE!


Tuesday, July 9, 2013

Stamp Wallet Tutorial

 
If your anything like me, this is how your postage stamps look (OK, yes that's still fairly neat, normally they are just thrown into the stationary box or wallet, aren't they?)
Very easy to get lost, thrown out with receipts or forgotten about.

You will need
main piece: 8" x 4"  outer fabric,  inner fabric and  interfacing
Large pocket: 8" x 3"  outer fabric
Little pocket: 8" x 1.5" inner fabric

HOW TO
1) Fold large pocket piece in half so the folded edge is to the left and raw edge up the top, sew along where pins are shown.
 
2) Turn right way and top stitch.
3) Repeat with small pocket piece.
4) Pin both pocket piece together as shown.
5) Measure 4" from the right of your inner piece, with pocket pieces right side facing down on the left side, sew them in place down the middle line.
 
6) Flip pockets over so they sit on the right side and sew the main piece and interfacing on with right sides together, leaving a gap for turning right way out.
7) Add snaps or Velcro for closure.

And you're DONE!
It's that SIMPLE!


*coming soon* Tool Belt Tutorial


Wednesday, April 17, 2013

Super Cape Fit for a Hero Tutorial


Everyone, big and small wants their own personalised superhero cape!

And here is the simplest way to make one for every member of your family.


You will need
Main fabric for cape, approx. 1/4 of a metre
2x 15cm x 15cm contrast fabric
felt or cotton for superhero emblem and letter/shape

HOW TO
1) I have always made bulk amounts of these, so would always cut a metre into quarters to get 4 capes.
so I guess measurements would be approx. 50cm x half WOF (Width of Fabric)

2) I then over lock the 4 edges and do a double fold hem on 3 of the sides, but if you don't have an over locker just do the double fold hem.
 
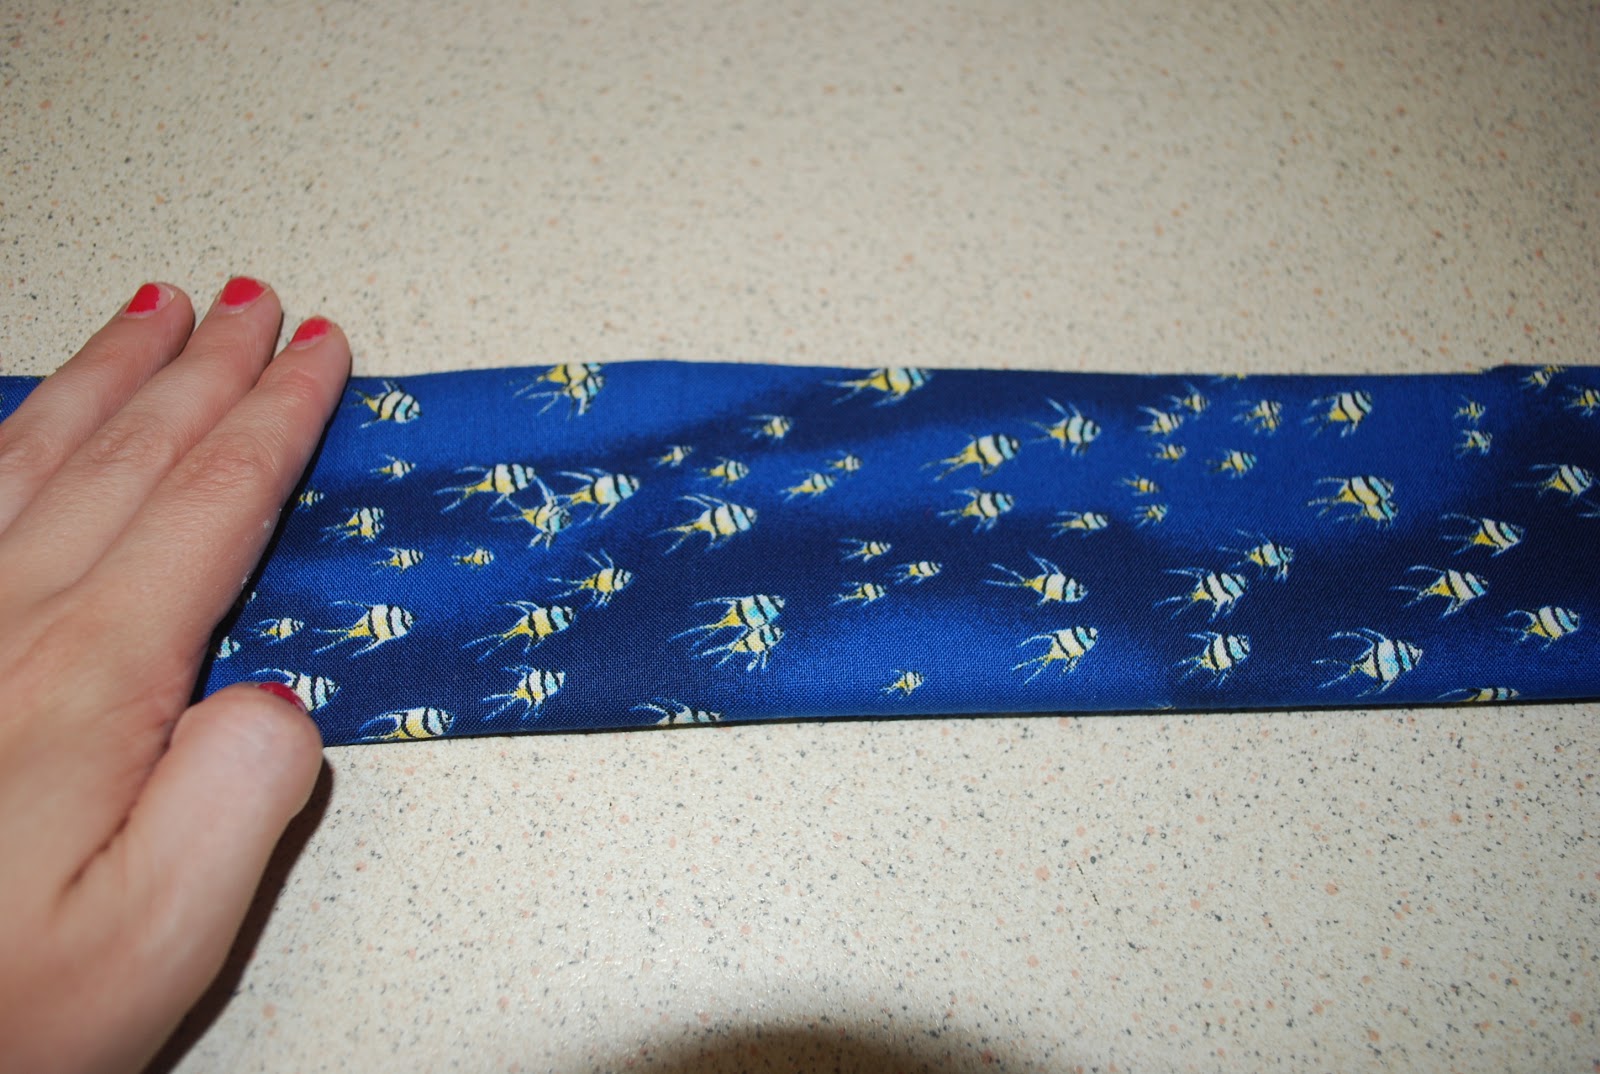
3) Along the 4th edge, fold and sew down a casing large enough for your elastic

 
4) at this stage, find the centre of the back of the cape and pin and sew your super hero symbol.
For best results, don't for get the heat n bond on the back of the letter and emblem if you use cotton fabric.
I like to use a blanket stich around the edges, but zig zag stitch works nicely too.


5) thread elastic through the casing and secure in place on each edge with a few back and forth stitches.

 
6) Fold tab piece of fabric in half, with right sides together.
sew around the two long sides and one short side.
turn right way and tuck raw edges of short side inside itself

7) secure on the back of the cape, covering your elastic securing stitches, with a X of stitches.

8) add snaps or Velcro as closure on the tab

And you're DONE!
It's that SIMPLE!

Tuesday, April 16, 2013

Simple Scarf Tutorial

You will need

1 doily
1 singlet/top preferably without side seams
 
 
HOW TO
1) cut the bottom hem off.

 
2) place edge of doily on the side, and allow 1 and a half of the doily width along the side.
and cut straight across to top of the singlet.

 
3) cut up one side seam. and stretch the fabric as much as you can.
 
4) cut the doily in half and pin to each end of the scarf and sew in place. 


And you're DONE!
It's that SIMPLE!

Friday, February 8, 2013

Fishing Rod Bag Tutorial

Hubby has kind of been asking me to make him some fishing rod bags for about 2 years now! and while I was finally getting my butt into gear, I thought I'd create a tutorial at the same time :)

You will need

a) cut 1 piece 30cm x 123cm (or WOF if making children sized bag as I am)
b) cut 1 piece 15cm x 30cm
1 piece of ribbon, cord or bias 40cm


HOW TO
1) Fold piece "a" in half long ways, and sew up one short side and long side.

I left the salvage mine, because I am making children sized, and saves me hemming the top edge.

2) Turn in right way

3) Fold piece "b" in half long ways, sewing down two long ways.

4) Turn right way, and attach at top of bag


5) Find the middle of the length, mark and straight stitch full length.
I pressed mine and drew lightly with chalk, or you could pin.
be sure to back stitch a few times near the opening as it will have regular use of fishing rod going in and out.


6) Secure ribbon, cord or bias in the centre of the top of the flap.


And you're DONE!
It's that SIMPLE!