Tuesday, July 9, 2013

Stamp Wallet Tutorial

 
If your anything like me, this is how your postage stamps look (OK, yes that's still fairly neat, normally they are just thrown into the stationary box or wallet, aren't they?)
Very easy to get lost, thrown out with receipts or forgotten about.

You will need
main piece: 8" x 4"  outer fabric,  inner fabric and  interfacing
Large pocket: 8" x 3"  outer fabric
Little pocket: 8" x 1.5" inner fabric

HOW TO
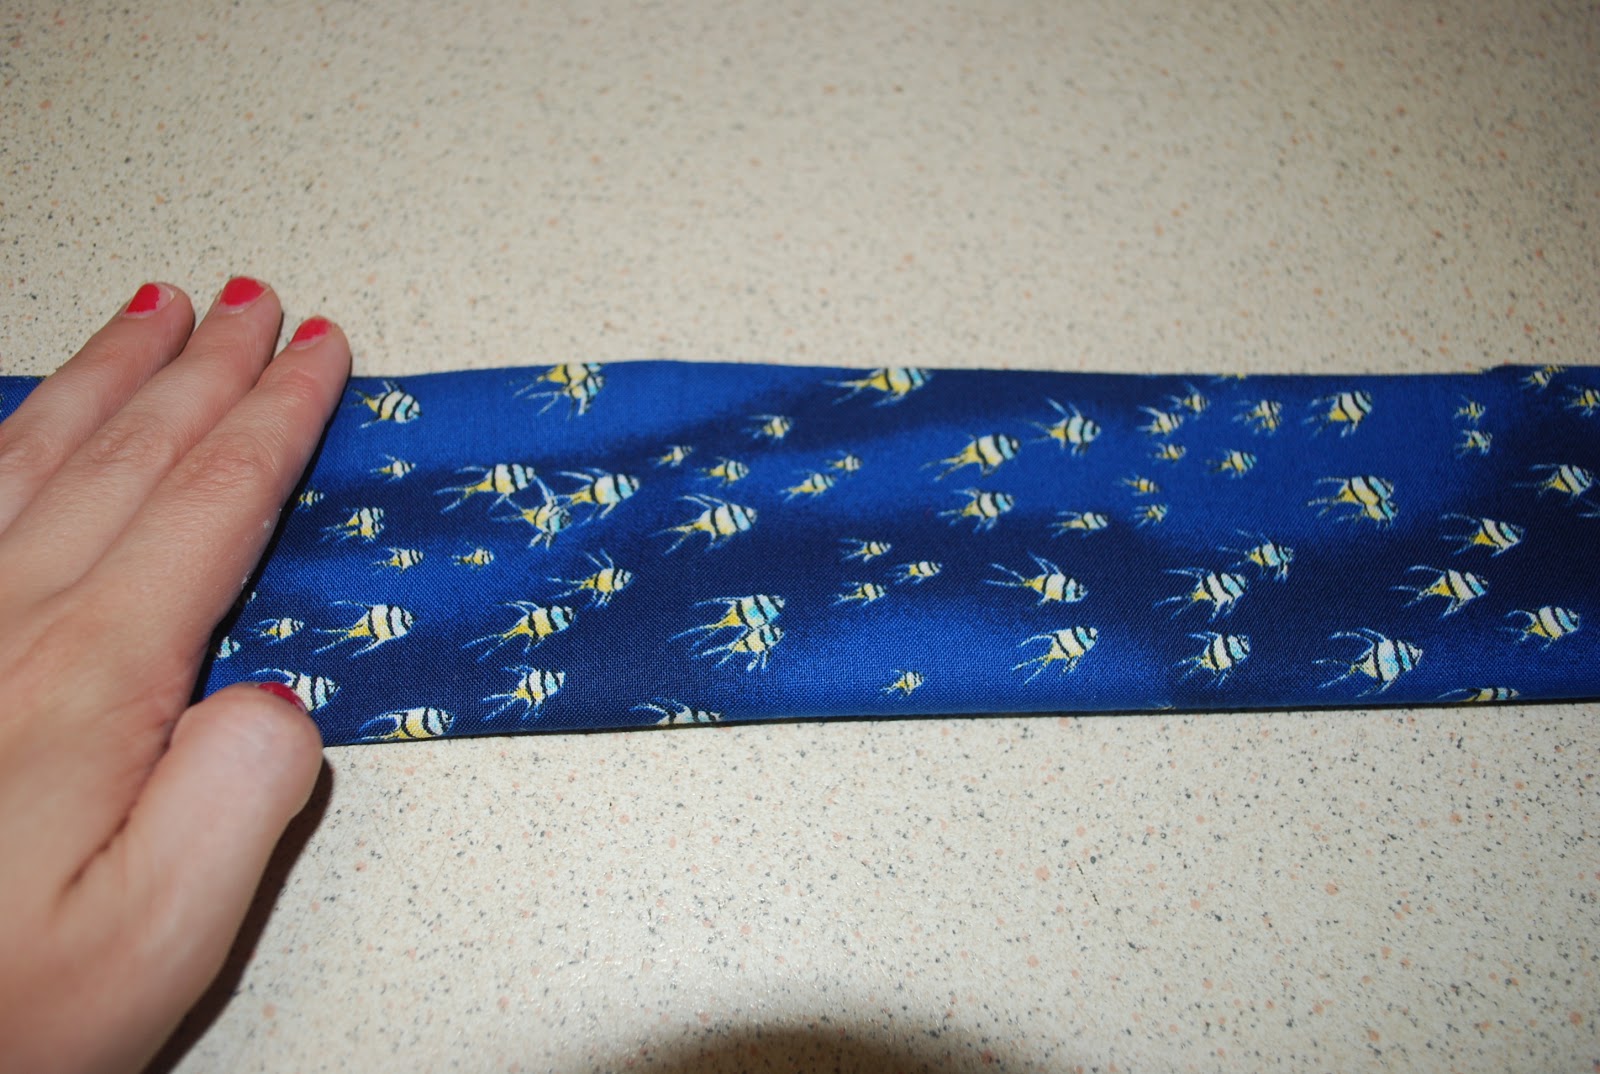
1) Fold large pocket piece in half so the folded edge is to the left and raw edge up the top, sew along where pins are shown.
 
2) Turn right way and top stitch.
3) Repeat with small pocket piece.
4) Pin both pocket piece together as shown.
5) Measure 4" from the right of your inner piece, with pocket pieces right side facing down on the left side, sew them in place down the middle line.
 
6) Flip pockets over so they sit on the right side and sew the main piece and interfacing on with right sides together, leaving a gap for turning right way out.
7) Add snaps or Velcro for closure.

And you're DONE!
It's that SIMPLE!


*coming soon* Tool Belt Tutorial


Wednesday, April 17, 2013

Super Cape Fit for a Hero Tutorial


Everyone, big and small wants their own personalised superhero cape!

And here is the simplest way to make one for every member of your family.


You will need
Main fabric for cape, approx. 1/4 of a metre
2x 15cm x 15cm contrast fabric
felt or cotton for superhero emblem and letter/shape

HOW TO
1) I have always made bulk amounts of these, so would always cut a metre into quarters to get 4 capes.
so I guess measurements would be approx. 50cm x half WOF (Width of Fabric)

2) I then over lock the 4 edges and do a double fold hem on 3 of the sides, but if you don't have an over locker just do the double fold hem.
 
3) Along the 4th edge, fold and sew down a casing large enough for your elastic

 
4) at this stage, find the centre of the back of the cape and pin and sew your super hero symbol.
For best results, don't for get the heat n bond on the back of the letter and emblem if you use cotton fabric.
I like to use a blanket stich around the edges, but zig zag stitch works nicely too.


5) thread elastic through the casing and secure in place on each edge with a few back and forth stitches.

 
6) Fold tab piece of fabric in half, with right sides together.
sew around the two long sides and one short side.
turn right way and tuck raw edges of short side inside itself

7) secure on the back of the cape, covering your elastic securing stitches, with a X of stitches.

8) add snaps or Velcro as closure on the tab

And you're DONE!
It's that SIMPLE!

Tuesday, April 16, 2013

Simple Scarf Tutorial

You will need

1 doily
1 singlet/top preferably without side seams
 
 
HOW TO
1) cut the bottom hem off.

 
2) place edge of doily on the side, and allow 1 and a half of the doily width along the side.
and cut straight across to top of the singlet.

 
3) cut up one side seam. and stretch the fabric as much as you can.
 
4) cut the doily in half and pin to each end of the scarf and sew in place. 


And you're DONE!
It's that SIMPLE!

Friday, February 8, 2013

Fishing Rod Bag Tutorial

Hubby has kind of been asking me to make him some fishing rod bags for about 2 years now! and while I was finally getting my butt into gear, I thought I'd create a tutorial at the same time :)

You will need

a) cut 1 piece 30cm x 123cm (or WOF if making children sized bag as I am)
b) cut 1 piece 15cm x 30cm
1 piece of ribbon, cord or bias 40cm


HOW TO
1) Fold piece "a" in half long ways, and sew up one short side and long side.

I left the salvage mine, because I am making children sized, and saves me hemming the top edge.

2) Turn in right way

3) Fold piece "b" in half long ways, sewing down two long ways.

4) Turn right way, and attach at top of bag


5) Find the middle of the length, mark and straight stitch full length.
I pressed mine and drew lightly with chalk, or you could pin.
be sure to back stitch a few times near the opening as it will have regular use of fishing rod going in and out.


6) Secure ribbon, cord or bias in the centre of the top of the flap.


And you're DONE!
It's that SIMPLE!


Tuesday, January 1, 2013

Merry (Late) Christmas....

and a Happy New Year!!!

Big things happening this year... and the first big news is....

Our facebook page has now launched!!!!!


Please join us, and let your friends know.
I hear there will be a giveaway soon, and to be the first to hear when that starts you need to like our page ;)


Friday, December 21, 2012

Ladies shirt refashion Tutorial

It’s time to raid the op shops or your grandma’s house to create this gorgeous simple shirt… or you that you can buy doily’s online.

suit able for any style of shirt, tank top etc. check your wardrobe, op shops, or the stores have fairly cheap blank clothing.


You will need
1 shirt
1 doily
 

HOW TO

1) Find the centre position on the back of your top and pin doily in place.
 
2) Sew around the outside where it has the most crochet stitches.

3) Turn inside out, pinch up the shirt layer only and snip an opening.
 
4) I use my applique duckbill scissors for this next part (shown below), and trim as close to the stitches as I can.

 
And you're DONE!
It's that SIMPLE!
 
 
not bad for a $4 shirt, right?


Thursday, December 13, 2012

Reusable Produce Bag Tutorial

We all try to be Eco friendly, and not use plastic bags, plus most of the stores don't even stock them... except when it comes to the fresh produce section!

And our fruit and veggies usually only sit in these bags for an hour while we finish the rest of the grocery shopping and bring it home to unpack straight into the fridge or fruit bowl.
So I'm going to show you a very simple way to make some reusable produce bags, that I look forward to using during my new grocery shopping trip!

You will need:
garment washing bag from cheap store (I bought the largest possible size they had, so I could get two produce bags from each washing bag)
cord or string
toggles

HOW TO

1) cut off the top of the bag, just below the zip.


2) Cut bag in half if you have one that is big enough to turn it into two bags.

3) Turn each half inside out and stitch up the newly cut side.
remember to back stitch a few times near the top opening as this will as much strength as it can
Don't forget to back stitch the top of the already stitched side as the thread would have been cut and leave it weak.

4) weave cord or string through the bag, towards the top and secure in place with a toggle (this step is not required as the plastic produce bags don't close)

Please ignore how empty my produce bags actually are, its end of the week and due for another stock up.

And you're DONE!
It's that SIMPLE!


Thursday, November 29, 2012

Car Pouch Tutorial

And who hasnt put their hand in their hand bag and pulled out a toy car instead of their ringing mobile?

With this cute little pouch, your child will be able to keep 3 of their favourite cars nice and safely together.
Ready to play with while out and about- waiting for the doctor, on the cafe table, or in the middle of the groccery aisle!


You Will Need:

Outer fabric 17x 24cm
Inner fabric 17x24cm
pocket piece 17x16cm

HOW TO:

1) Fold pocket piece in half to create a rectange 17x8cm, and top stitch along the folded edge.

2) Position on the bottom of the inner layer

3) On the bottom-back of your inner piece, find the middle and mark 1inch either side of it.
This is where you will sew a straight line to create the individual car pockets.
Be sure to go back and forth a couple of times at the top of the pocket to make sure it will hold up against cars going in and out all the time.
4)I will be using a hair elastic and button for the pouches closure, same concept as the Fold-up Shopping Bag.
Snaps can also be put on towards the end, in the two corners if you prefer.
 
5)  Placing fabrics right side together, it is time to pin together and sew around the outside, leaving a turning gap at the top (shown where my fingers are, not sure why my photo is turned at the moment)

6) Snip the corners and turn in the right way. Top stitching the turning hole and all the way around the outside.

7) Positiong the button in place.

And you're DONE!
It's that SIMPLE!


Wednesday, November 28, 2012

Electronic Fabric Stash

If you haven't already been able to tell, I like to be organised.
It helps me to know where things are, and easily able to see what I have.

And this doesn't stop when it comes to my fabric stash.

I have it folded around corflute (a plastic type cardboard available from most hard ware stores, and also used in signs for realestate and bottle shops) and grouped in boxes according to type and size.
I also place them in to the box standing up right, so that when you take off the lid and peer in, you can see the edge of each fabric and don't have to pull out your wanted piece from the bottom of the stacked pile- because you can guarantee that's where the one you want will always be!

This box is my cotton prints:

This one contains my flannelet, drill and denim: (plus a few misc like stretch and satin that i don't have much of, as i don't like working with it as often)

and these two boxes contain my fat quarters and "scrap" pieces: (I don't keep really scrappy pieces, it has to be decent enough to use on my every day sewing)

As well as my very easy to see-into-boxes, I have also taken photographs of each piece of fabric separately (generally as I buy them so i can stay up to date) and store them on my computer in folder called "Fabric Stash" Again I list them according to type and size. (Yet to write exact measurements, but believe me, I have considered it!)

This way I can sit at my computer and browse what I have and what might work for a project before I need to start unstacking boxes and finding the fabric.

I also get great satisfaction at seeing a piece of fabric "crossed off my list" when I have used up a  piece completely, I simply delete the photo from my records.


How do you store and sort your fabrics?